Mixing, Kneading, Extruding, Straightening, and Drying the Japanese Incense
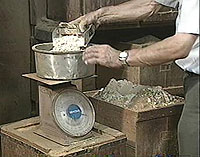
Each incense ingredient is carefully measured and then mixed together in the mixing container. Once they are completely mixed they are put through a sieve to remove impurities and sifted for uniformity. The powder should be very fine for the incense to blend, knead, extrude, and dry properly. You can do the same by using a flour sifter after you mix your ingredients. Makko is also added to the other ingredients for proper burning and binding. At least 10% makko should be used, and depending on the other ingredients, more makko maybe required for proper combustion.
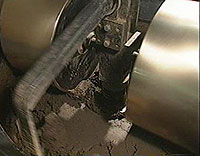
Next the powder is put in a machine to knead it into a uniform paste called "tama." Water is added to make the dry powder into tama. For making incense at home you can use a medium or large porcelain mortar and pestle. Be sure to add a little water at a time and knead the tama until it is consistent.
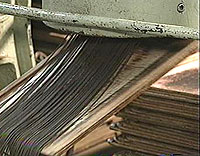
The next step is extruding the incense sticks in much the same way as pasta. Baieido uses a hydraulic extruder in Japan. It requires considerable pressure to push the tama through the extruder. When making incense at home you can either form the tama into cones at this point, or you can roll the dough flat and cut in thin strips. Then follow the same procedures in the rest of this demonstration. What you see above is the extrusion of incense paste (tama) into long strands. These strands are captured on a board and cut to a fixed length. Next the incense sticks (senko) will be separated from sticking to the board and then straightened.
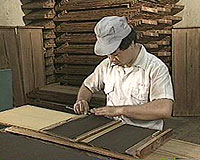
The next step is to cut the incense sticks to various lengths according to their uses.

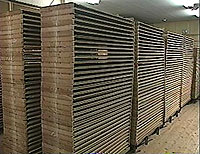
Once the incense sticks (senko) are cut to the proper length they are placed on drying trays and placed in racks to dry. It takes many days to dry the incense properly, and during the process the incense sticks are adjusted with a board to remove the space between the half dry incense, and make certain the sticks remain straight.
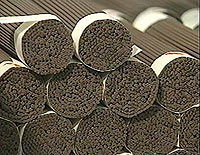
Finally the incense sticks are bound together in bundles to prevent any bending. As you can see, Japanese style incense is quite an art. Every part of the process requires careful attention and skill. There are ways to shortcut the process, but this is the method that produces the finest incense in the world!
